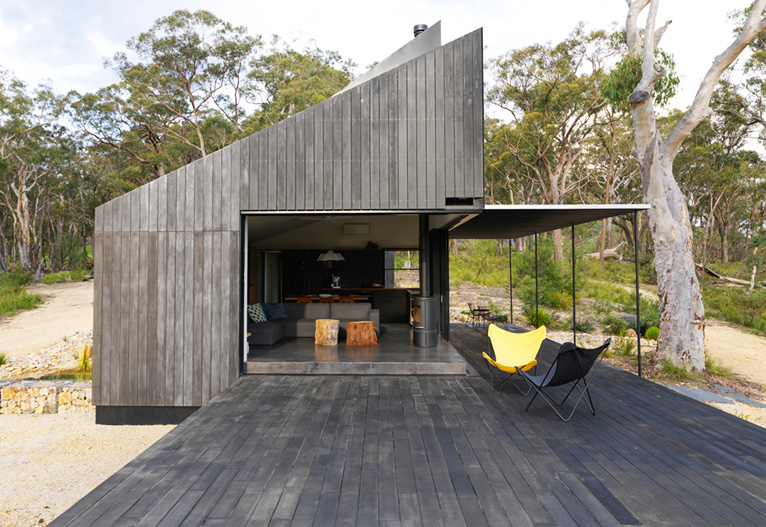
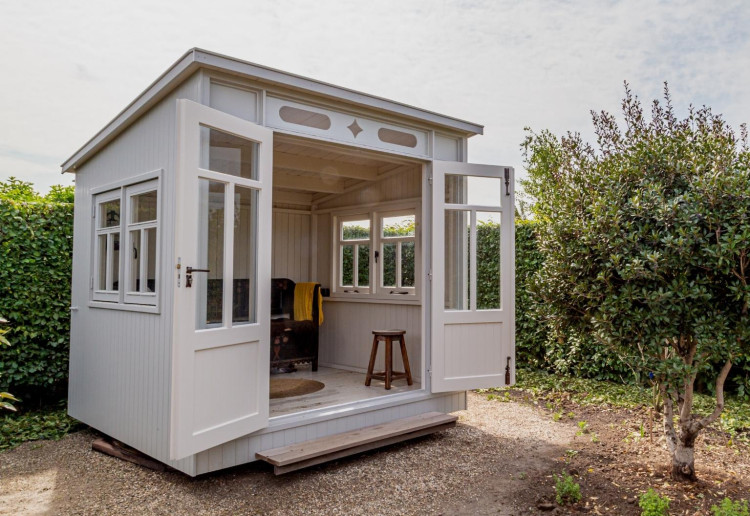
You’d be hard-pressed to find an Aussie backyard without a humble (or grand!) garden shed.
The garden shed is a space that can become anything from an art studio, man cave, potting shed, yoga studio, workshop, music room – or just somewhere to store all your extra stuff! The only limit is your imagination. But before you launch into building your own garden shed, there are a few things you need to know.
Planning out your garden shed
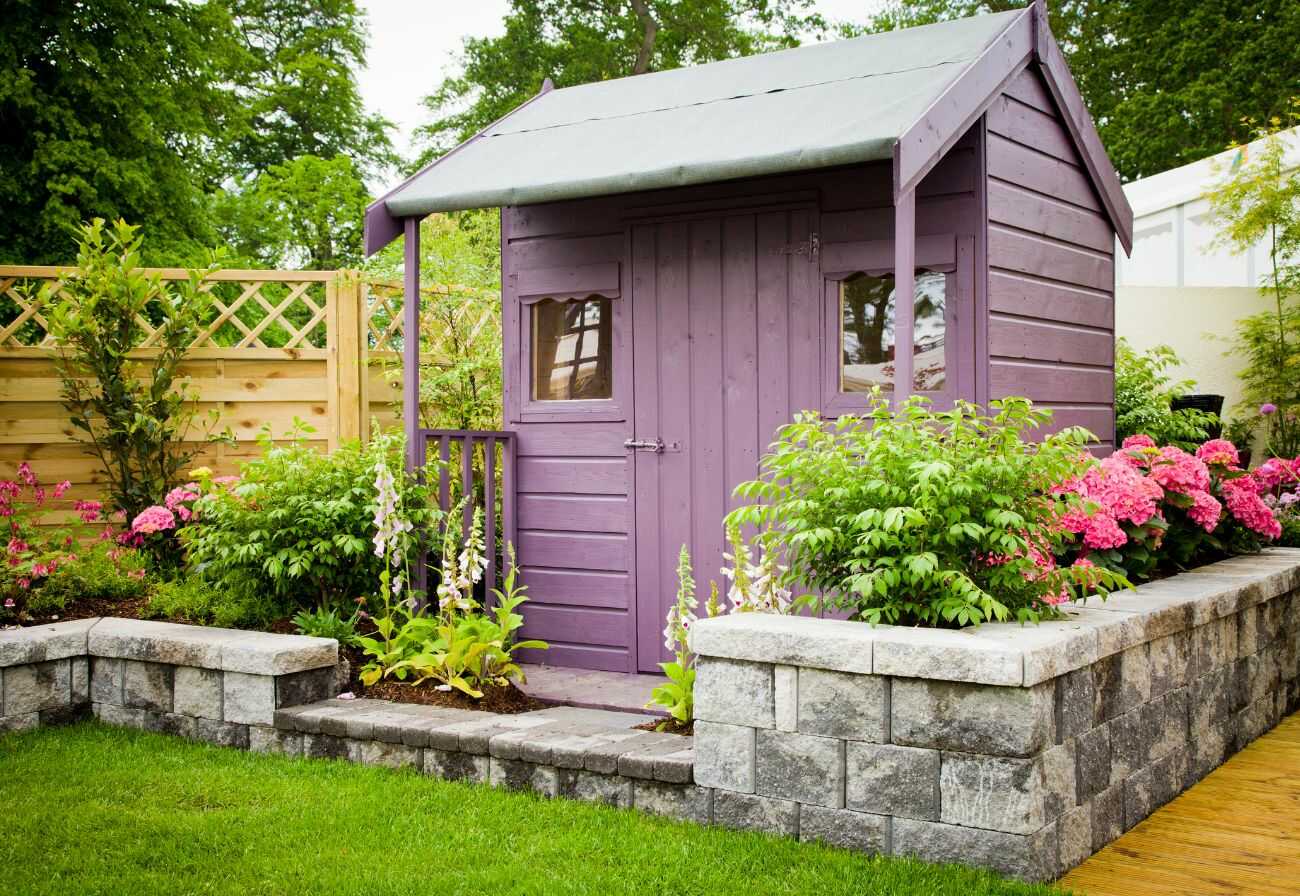
Before beginning this project, it is important to review your local area’s building code. Building codes are different in each state. In NSW, renovators usually do not need council approval to build a shed if the structure is under 20sqm and less than 3m high.
In Victoria and Western Australia, renovators will need a permit for any shed over 10sqm. It is essential to always check with your local council first.
Once approval has been granted, it is vital to check the location of sewerage, water, and gas pipe. This can be done quickly by making a phone call to Dial Before You Dig, Australia’s free national referral service preventing damage to infrastructure networks that provide our everyday essentials.
To draw plans, renovators can employ a professional drafter to draw up plans or DIY them using free design tools available on the internet.
Ensure you are wearing protective clothing, shoes and eye coverings when constructing your shed! It is important to ensure safe coverings such as steel-capped enclosed shoes and layers are worn to help avoid injuries. Children often want to help and pets can be curious, but it’s best to keep them well away from your construction area, particularly when using equipment such as nail guns, circular saws and hammer drills.
Laying the garden shed base
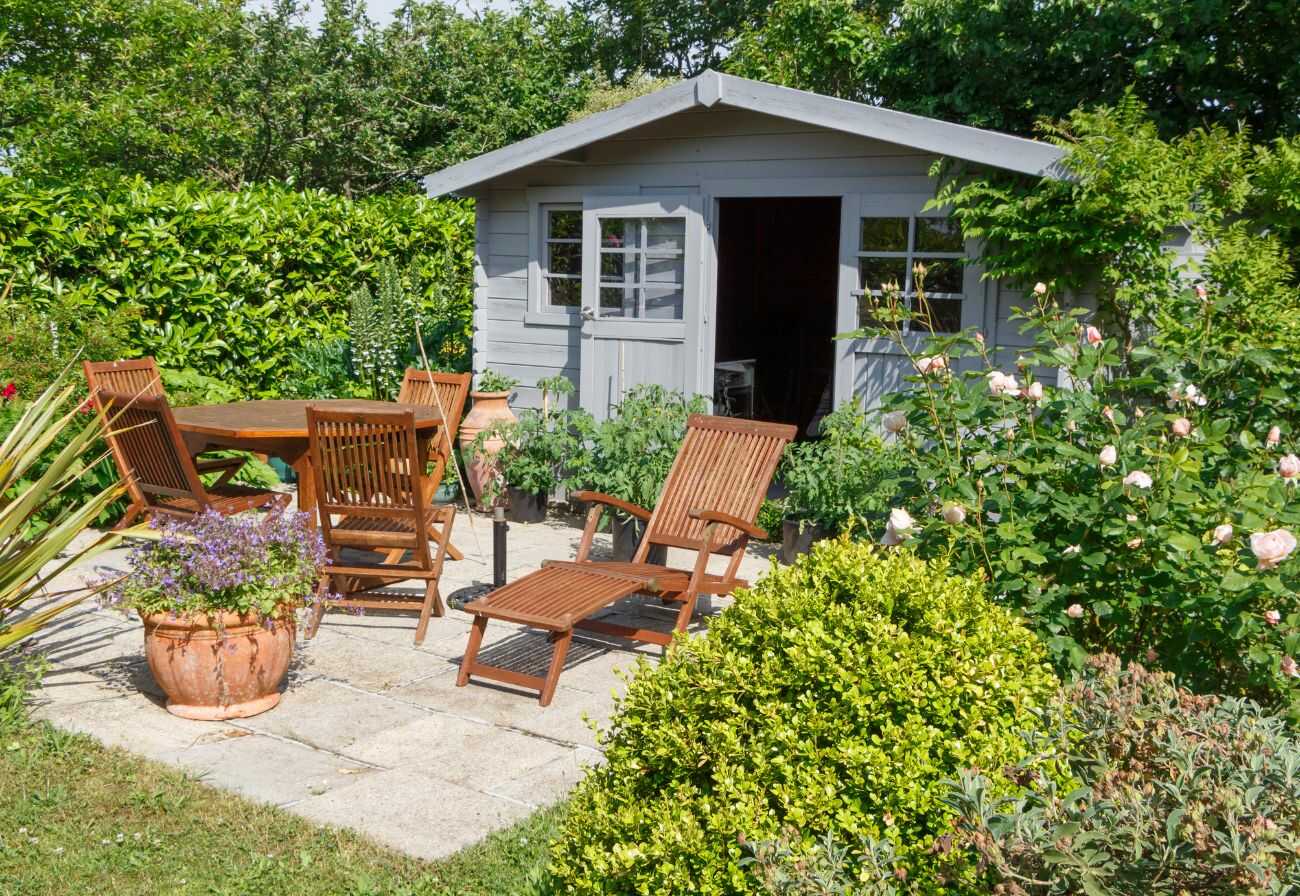
Once the planning is complete, it’s time to get your hands dirty and construct your shed. It is crucial to construct your shed’s foundations on a flat site. If there are tree stumps or a pile of dirt in the way of the shed’s place, consider getting in a stump grinder and mini loader.
A concrete floor is a great option for all sheds. To create a concrete floor, you will need to build a wooden frame slightly wider than the base of your shed. The top of the frame should be about 10cm above the ground to ensure the shed is high and dry. Use small stakes to secure the frame to the floor and check levels and angles. Next, spread small stones or rubble to a depth of about 5cm, and lay some steel mesh on the top for added strength.
Use a concrete mixer to mix the concrete. Then, working in sections, fill to the top of the frame, trowel it flat and finish with the edge of a board, scraping off any excess. The rim can be removed after a couple of days. And again, ensure kids and pets are kept away when laying cement unless you’re after some decorative footprints!
Putting up the garden shed formwork
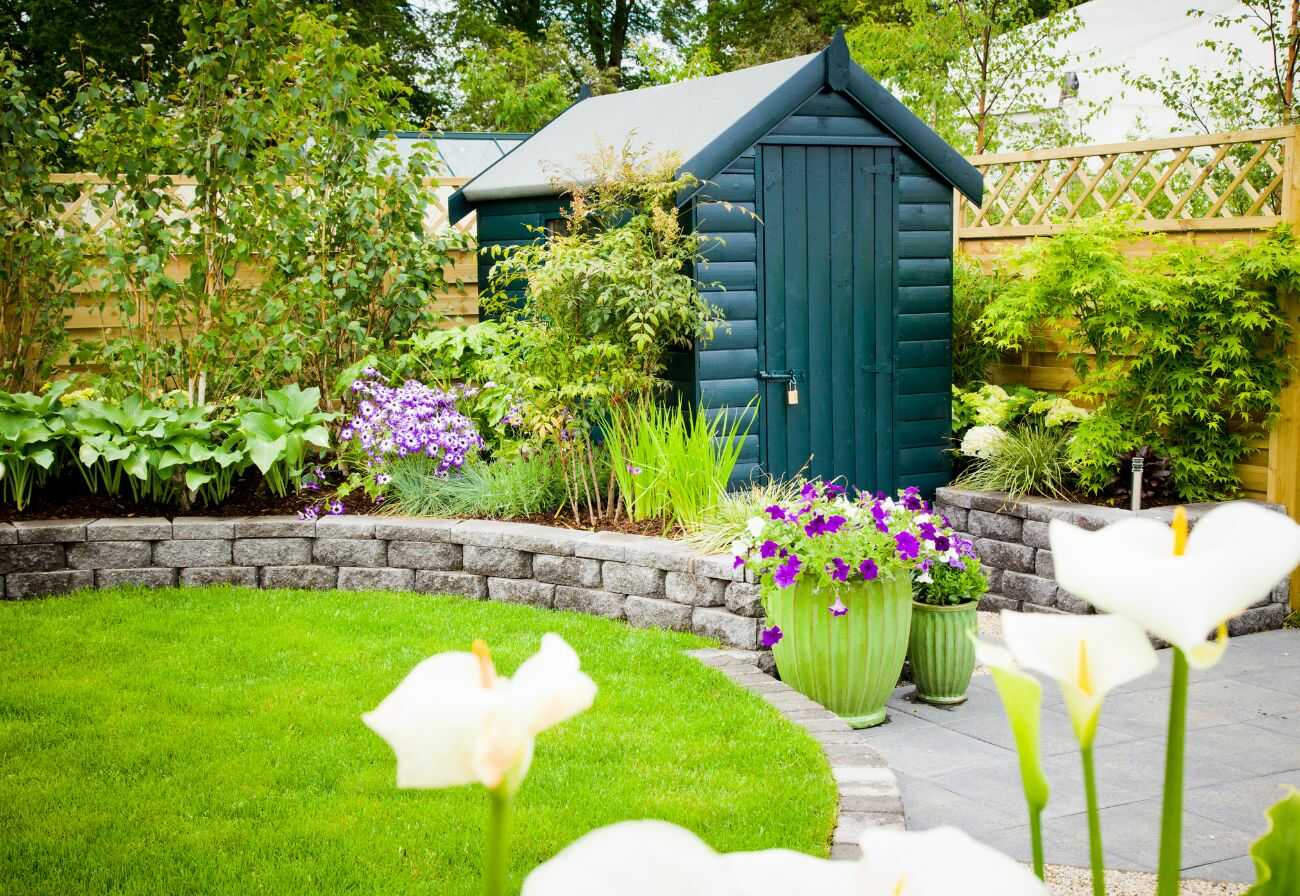
Your new floor now provides good working space to build the wall frames, one wall at a time. Begin installing studs (uprights) to the depth of 40 or 60cms apart, depending on your structure. Before inserting, it is essential to work out how many studs you need.
Use a circular saw to cut the timber to length and the timber for framing windows and doors. Allow for a single plate (horizontal) as the base and a double plate on top for extra strength. Use a nail gun to attach the plates to the studs.
The next step is to attach the wall frames to the floor. You may need another person to hold the frame upright; If this is a solo mission, do not fret – prop it up with a couple of lengths of timber. Use a hammer drill with a concrete bit to drill pilot holes, then drill in the concrete screws.
Continue with all four walls. Check levels and angles and nail the wall frames together. Finally, nail the second top plate to each wall for added strength for the rafters. The simplest roofing option is a skillion roof sloped towards the weather side. Build your roof trusses on the ground, then lift them onto the roof and fix them to the wall frame with braces.
Decide on your cladding
With the frame in place, install your wall cladding. Linea Weatherboards are fabulous for their robust composition and ability to handle Australia’s harsh climate. Steel gives a more contemporary look but it costs quite a lot more. Vinyl panels are another modern and trendy option.
Colorbond or Zincalume is the most straightforward option for the roof. You’ll also need flashing, gutters, and a downpipe that you can connect to a tank for the garden. If you intend to spend time in your shed, you’ll probably want to line it for comfort and looks. Plywood and pine lining boards are good options.
If it’s solely for storage or a garden shed, leave the formwork exposed to store smaller items and hang your tools. However, if you intend to use your structure as a room, cover exposed beams with a cladding of choice. Use leftover timber to build workbenches, shelves, or a pegboard for space to hang tools and utensils.
Your new space is complete! Now all that’s left is to enjoy the extra space, the excuse to get away or the fact that everything is now so neat and tidy!
If you have any questions at all on the process of constructing your new shed, visit your local Kennards Hire branch to speak to one of our friendly building and DIY experts.
After more tips for improving the backyard? Check out how to build a timber fence in a single weekend!



-

-
-
MH514261, NSW
- 23 Sep 2025
-

-
-
MH513363, QLD
- 28 Aug 2025
-

-
-
MH513376, WA
- 21 Aug 2025
-

-
-
loves_coffee_and_wine, SA
- 10 Jun 2025
-

-
-
ChiWren, QLD
- 31 May 2025
Post a commentTo post a review/comment please join us or login so we can allocate your points.