


Fence building is well within reach of most DIYers looking for a cost-effective way to add security, screening, and the final touch to their outdoor renovation. And this step-by-step guide tells you how to build a reliable timber fence in as little as a weekend.
Firstly, before you jump into this DIY, it is important you have adequate protective equipment – your old gym trainers won’t cut it as footwear! Make sure you are wearing steel-capped shoes, clothing that covers your extremities and eye goggles when using electrical equipment.
Now, let’s get into it!
Boundary rules
Knowing how to build a fence is one thing, but the first and most important rule is that you must never cross the boundary. The last thing you want is to have the council or a neighbour force you to undo all your hard work.
If you’re simply replacing an old fence, boundary rules are not normally a problem. But if it’s a new fence, you’ll need to check the boundary pegs. And if it is a common fence, check with your neighbour and agree on the boundary line. If there is any disagreement or uncertainty, you’ll likely need a surveyor to check the boundary line.
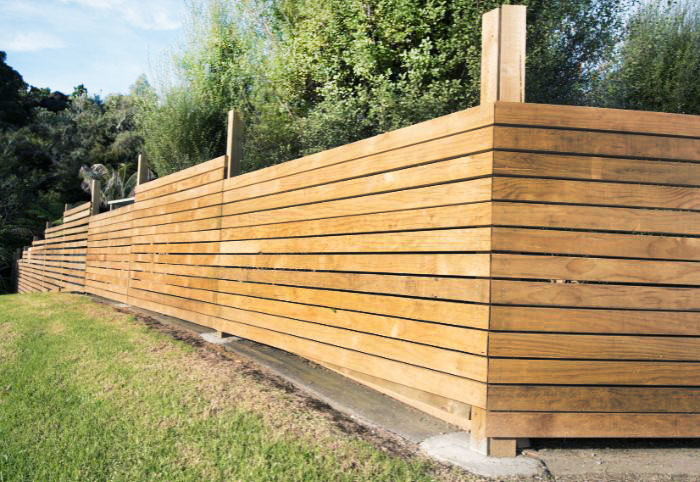
Your fence posts need to be buried at least 600mm deep and will finish slightly below the final fence height. For this project, timber is the easiest material to work with, however, these days there’s a variety of choices.
For a 1.8m fence, use 2.4m posts. Posts are typically 2-2.4m apart, so measure the distance of your fence and calculate how many posts and rails you’ll need. To save time, your fencing materials can be cut to size at your local hardware store to ensure they are all safely cut and even.
Posts, rails and plinths
Hammer in stakes where your end posts will be, then using a line of string, stake out the post holes, between 2-2.4m apart.
Use a shovel or petrol-powered post hole digger to dig holes for the corner posts around 600mm deep. Use your spirit level to ensure posts are square, wet the hole first, add your quick-set concrete mix, and then add more water. Check levels again and hold the posts until the concrete begins to set, typically only a couple of minutes. If you ensure the concrete is level with the ground or slightly higher, your posts will last longer as they’ll be less prone to rot.
Once the two corner posts are secure, run the string line to check that the post holes in between are still accurately placed and repeat the process with all the posts. If you can, leave the concrete to set overnight or at least for a couple of hours before you attach the rails.
House your posts in wedges
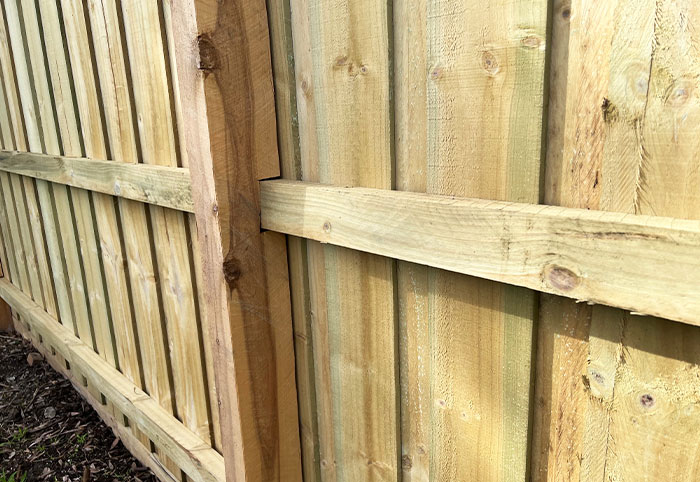
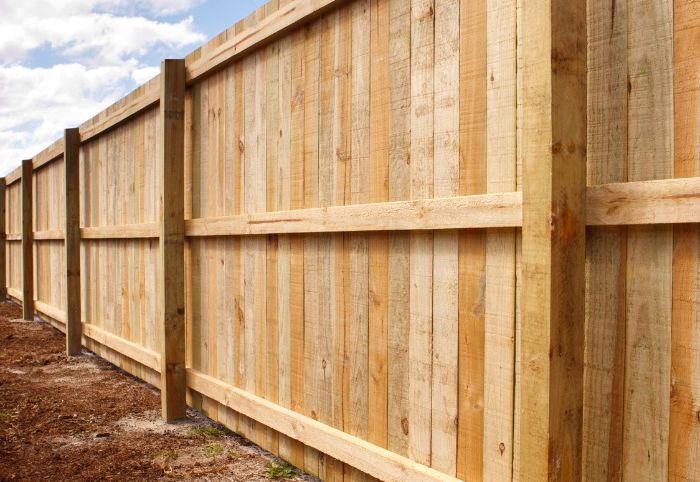
For a 1.8m fence, you need three rails, which are often housed in wedges cut into the posts. Use a chalk line to mark out the top and bottom of each rail housing, ensuring they’re all set at equal distances. Set your circular saw to the required depth and cut several notches in the posts (45mm) then use a wood chisel to check it out.
With the housing ready, use your saw to cut the rails to measure. They should meet exactly halfway on the posts and should be staggered to ensure maximum strength. It’s best to screw these in as it allows for timber movement over time.
Finally, it’s time to add the plinth boards, which run between the bottom rail and the ground. Use your spirit level to ensure they are level; the plinth boards will act as a level marker for your cladding.
Palings and pickets

Now for the palings or pickets. Rest them on the plinth board and use a leftover bit of timber as a spacer. A lightweight nail gun makes easy work of this stage.
If you’re after a solid fence, nail the wider palings at the back, then overlap with the narrower palings in front.
Now, stand back and look at your fence with a critical eye. If the top’s not level, clamp a spare length of timber at the desired height and run your circular saw along it to get a straight top.
Now it is time to get creative! Choose your paint colour and make your fence truly unique, or, cover it up with some transparent varnish to show off the natural hues of your materials.

And now you know how to build a timber fence that will not only add some flair to your home’s perimeter but stand the test of time too.
Talk to the experienced team at your local Kennards Hire branch to ensure you are getting the right equipment for the job.
After more tips and inspiration for your outside space? Take a look at how easy it is to build a garden shed and check out our expert pool landscaping ideas that don’t break the budget.
-

-
-
MH514261, NSW
- 23 Sep 2025
-

-
-
ChiWren, QLD
- 31 Aug 2025
-

-
-
MH513363, QLD
- 28 Aug 2025
-

-
-
MH513376, WA
- 28 Apr 2025
Post a commentTo post a review/comment please join us or login so we can allocate your points.