


One of the easiest, and most cost-effective ways to add value to your home is by giving it a fresh lick of paint. The impact of beautifully finished and painted cornices, walls, ceilings and skirting boards gives rooms an instant lift. And with the right preparation, interior painting is a job that DIY enthusiasts can tackle.
When taking on a home renovation, we inevitably spend a huge amount of time deciding on the perfect colour (and so we should!), but we need to spend just as much time preparing surfaces to be painted. You could be using the most expensive paint on earth, but if you haven’t prepped your surface properly, it’s never going to shine bright enough to drown out the imperfections. And this is a fast track to renovation regrets.
The expert team at Trojan has passed on their top tips for perfect paint preparation to make sure your hard work is worth all of the effort.
Paint Preparation: Your Step-By-Step Guide
Whether you’re patching up wear and tear, giving a room a whole new look, transforming a piece of furniture or updating the fence, the perfect paint job comes down to preparation.
1. Clean all surfaces
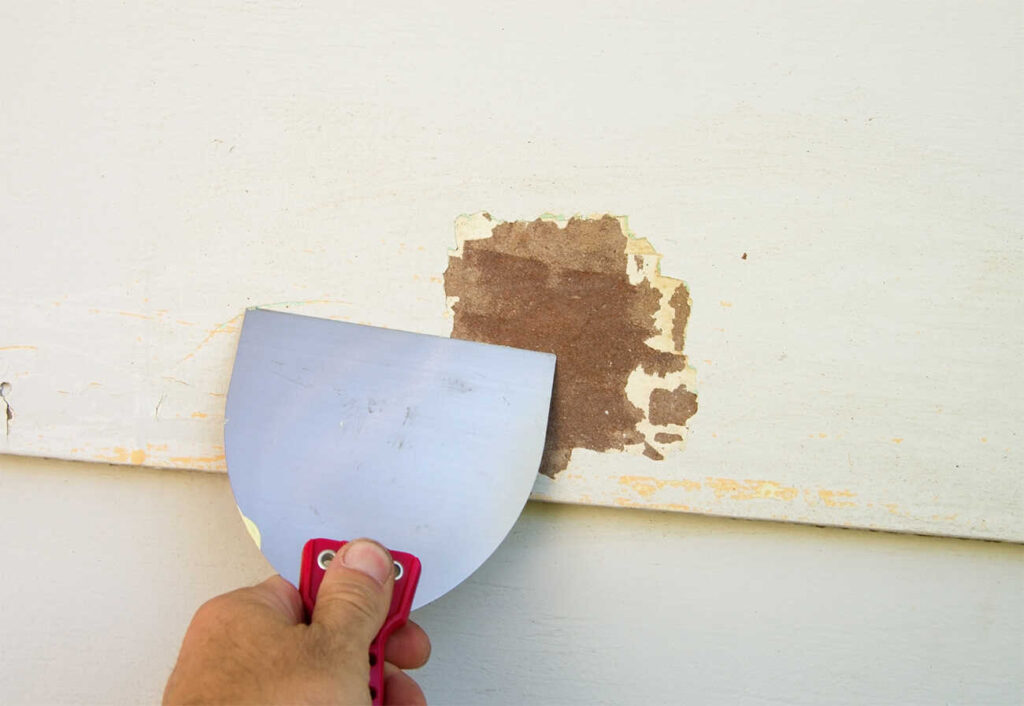
Because the result is only going to be as good as your preparation, is best to start with a simple cleaning of the area. If anything is sitting on the surface of the area to be painted, it’s going to show once it’s been painted. So, remove any debris and dirt and use a paint scraper to get rid of old or flaking paint. Flaking paint now will mean flaking new paint later!
2. Sand surfaces

To get a nice, even, smooth paint finish, you need to have a smooth surface. And sanding is the easiest way to achieve this. A sanding sponge will even out surfaces and flatten ridges after you’ve finished cleaning. Pop some painting gloves on to protect your hands and don’t forget to give the surface a clean with Sugar Soap when you’re done.
3. Fill any gaps
We’ve all got those pesky holes from picture hooks, and bumps, cracks and scrapes along the walls. These need to be filled in before painting to help you achieve that beautiful finish. Use a paint filler and scraper to get into the gaps. Once dry, give the area a light sand to get it nice and smooth.
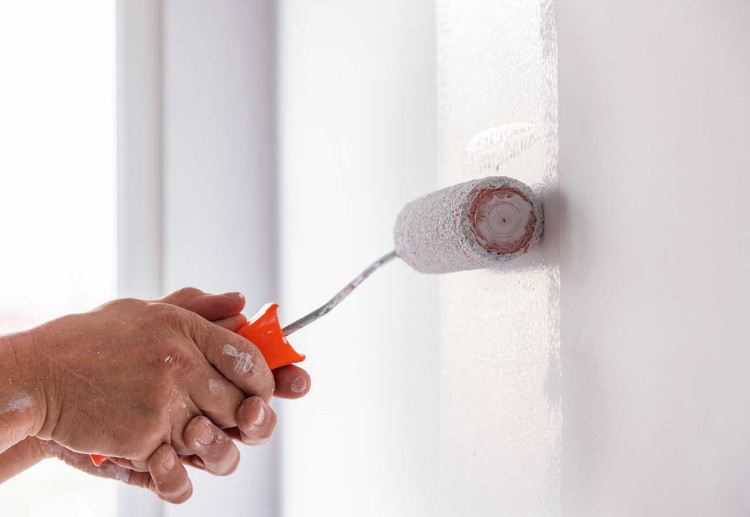
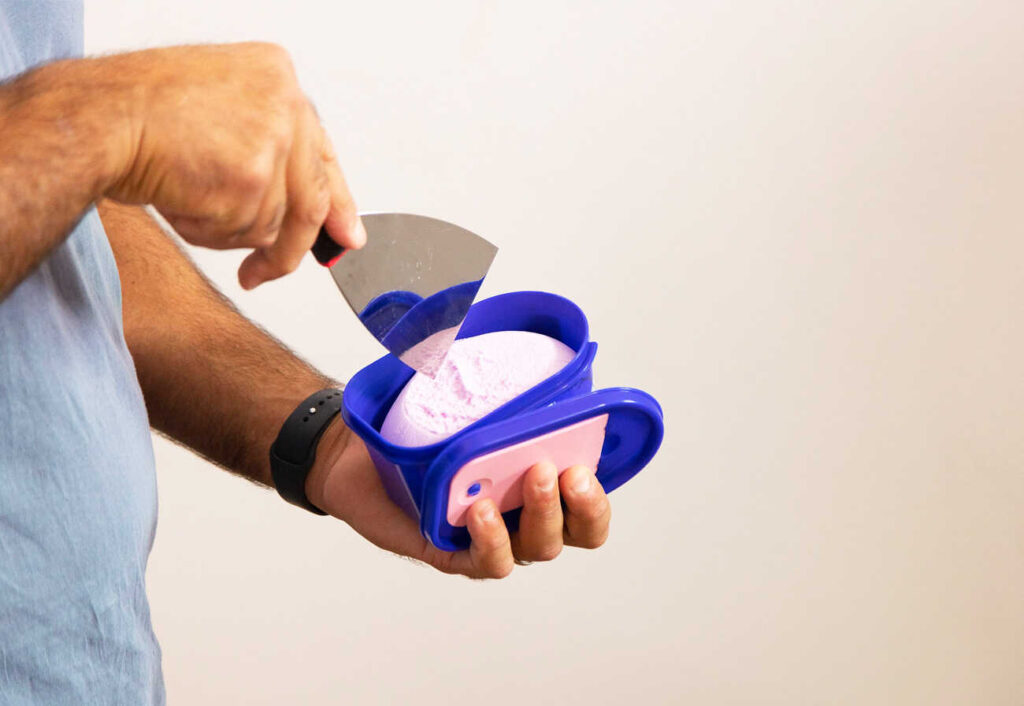
4. Mix the paint
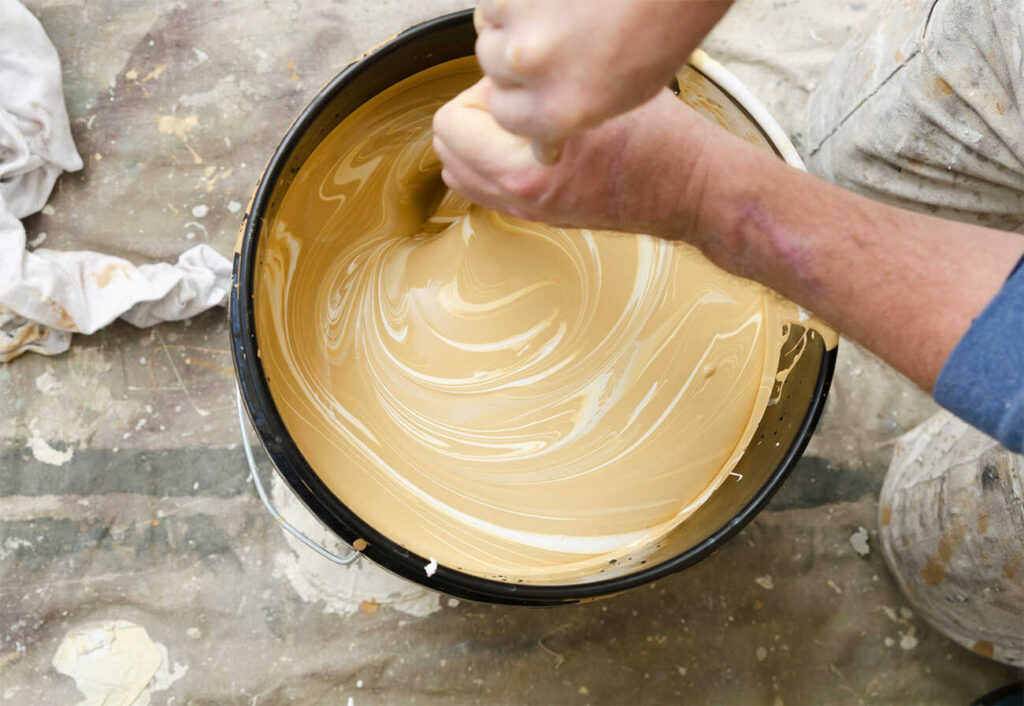
Finally, it’s time to paint! But the preparation isn’t done yet. First, you need to make sure that your paint is perfectly mixed and ready for application. Sometimes paint can separate, so use a mixer to get everything silky smooth and evenly mixed.
5. Clean up!
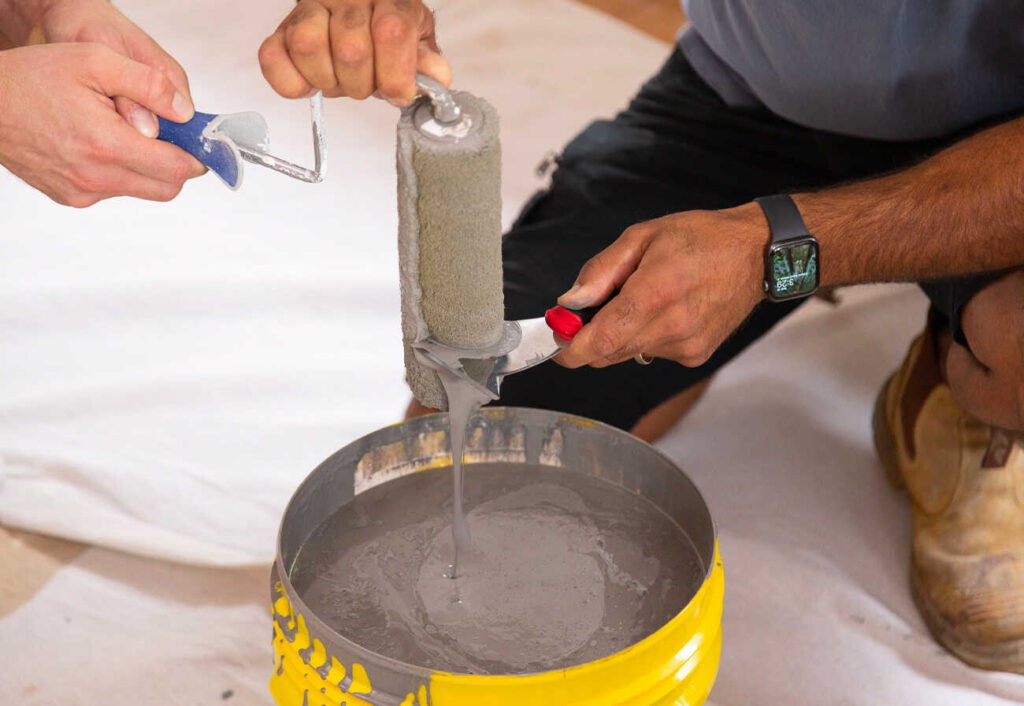
Once you’ve finished painting for the day, it’s time to clean up. Depending on whether you’ve used oil-based or water-based paint, you’ll need to use different methods to get your brushes and rollers clean. But before any of that, make sure you scrape that precious paint back into the tin – so you can use it for touch-ups!
About to paint your home white? Find out what you need to know about white paint that looks blue!
-

-
-
MH513363, QLD
- 31 Aug 2025
-

-
-
ChiWren, QLD
- 31 Aug 2025
-

-
-
MH513376, WA
- 10 Aug 2025
-

-
-
MH514261, NSW
- 10 Apr 2025
Post a commentTo post a review/comment please join us or login so we can allocate your points.