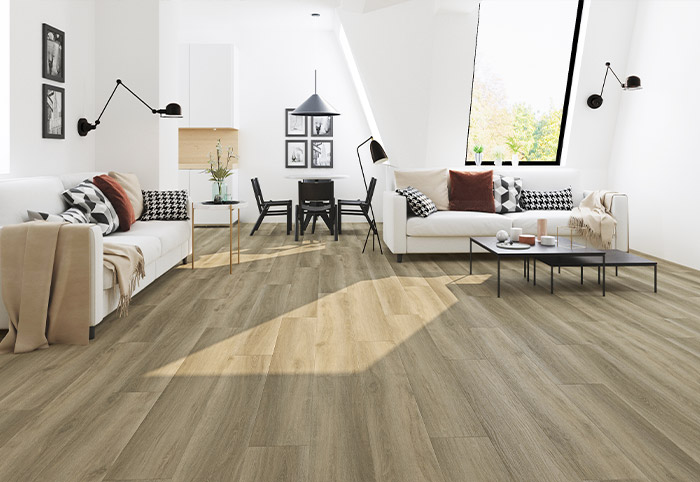
Hybrid flooring is the interior trend sweeping through Australian homes, loved for its affordability, durability and sensational appearance. And with many renovators opting to install the boards themselves, we’ve teamed up with flooring expert, Beaumont Tiles, to explain how to lay hybrid flooring the right way.
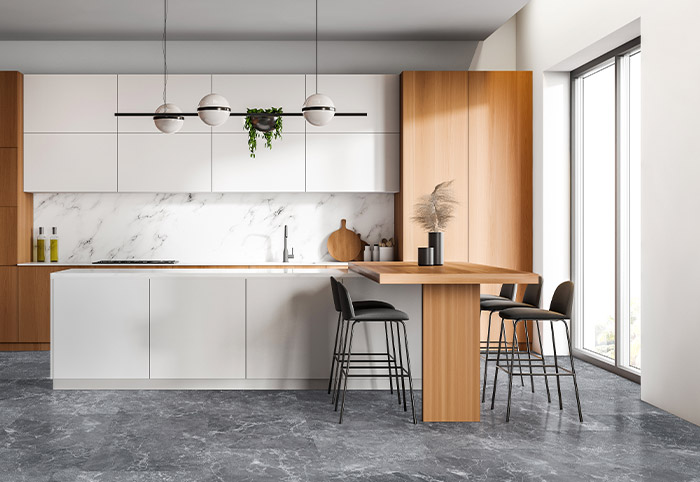
Beaumont Tiles design specialist, Christie Wood, explains that the new Hybrid range is one of the most DIY-friendly flooring options around because it’s lightweight and easy to assemble. It’s also a product that suits most budgets and comes in a wide range of colour options perfect for Australian homes. (Take a look at the pros and cons of hybrid flooring to find out how it compares to other options.)
“Hybrid flooring offers a brilliant option for renovators with its stunning range of timber and stone looks. It’s the perfect range for those looking to complete their renovation quickly and with a stylish, practical floor.”
Christie Wood, Beaumont Tiles
Beaumont’s low-maintenance, innovative hybrid floorboards are waterproof, fire-tested, pet-friendly and even specially treated to inhibit the growth of bacteria and other nasties. Most even come with a lifetime residential warranty for total peace of mind.
How To Lay Hybrid Flooring (SPCore and Isocore)

So you’ve (finally!) chosen your Beaumont floorboards and you’re ready to install them. The first step is to make sure you have the right tools for the job:
- Spacers
- Rubber mallet
- Straight edge
- Pencil
- Tape measure
- Utility knife
- Tapping block
- Pull bar
- Eye protection
- Gloves
- Broom
- Felt pads
Time needed: 1 day
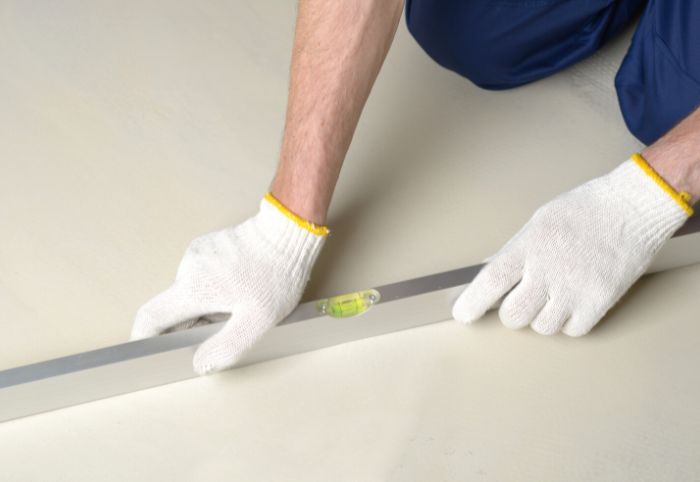
- Check your subfloor
Ensure the subfloor is structurally sound, clean, dry and level to 5mm within 3m2.
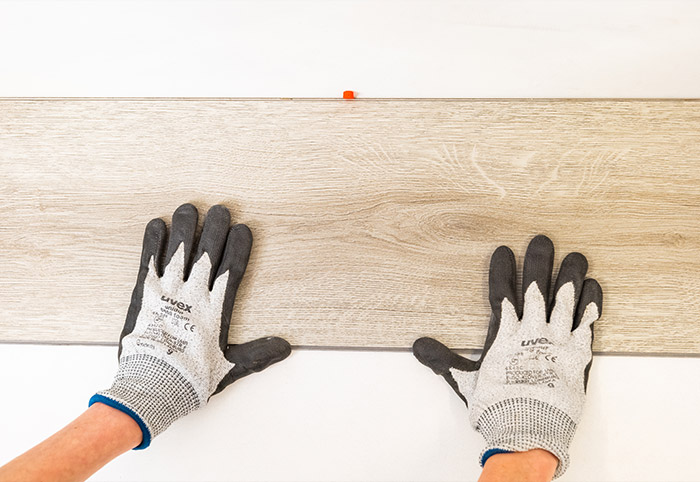
- Check your floorboards for imperfections
Most likely, your hybrid boards will be perfect, but give your product a quick check before you install to be certain.
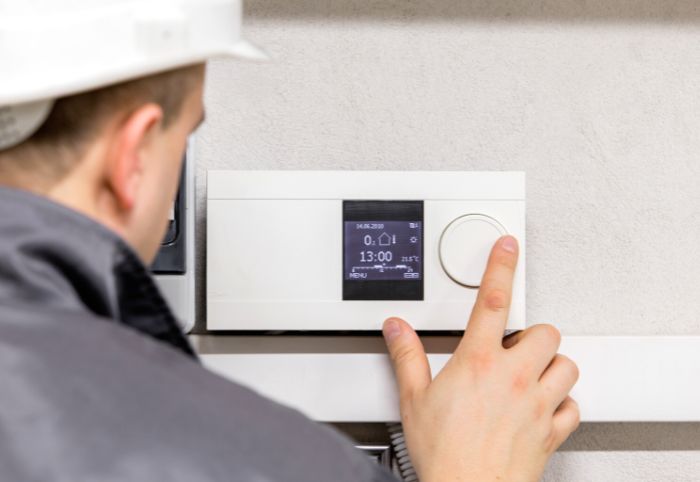
- Check the room temperature
Check the room’s temperature – optimal laying temperature is 18 degrees, and not over 30 degrees.
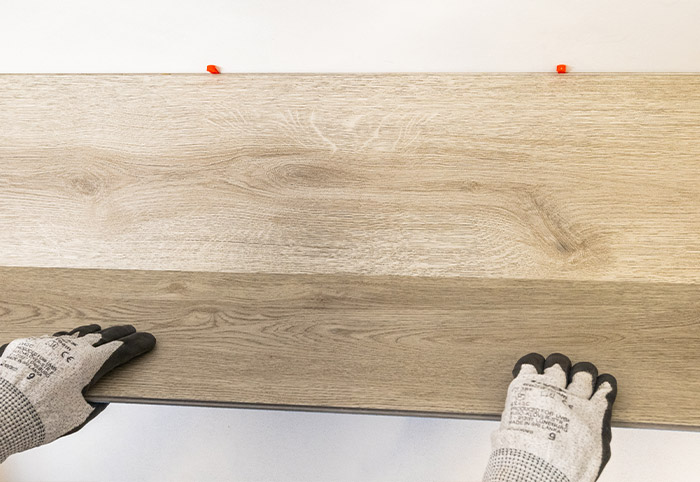
- Lay the first plank
Set your spacers and position the first plank with the grooved edges away from the walls. Don’t forget to leave a 10mm expansion gap as per your installation guide.
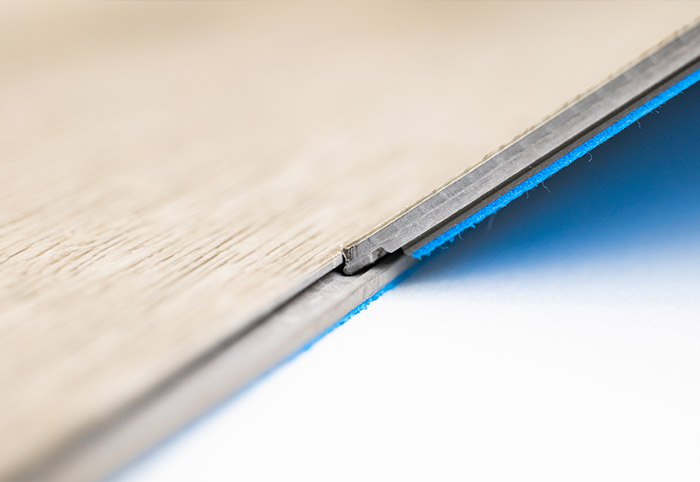
- Insert the next board
The tight lock (angle-tap down) allows for easy installation. Just insert the tongue into the groove.
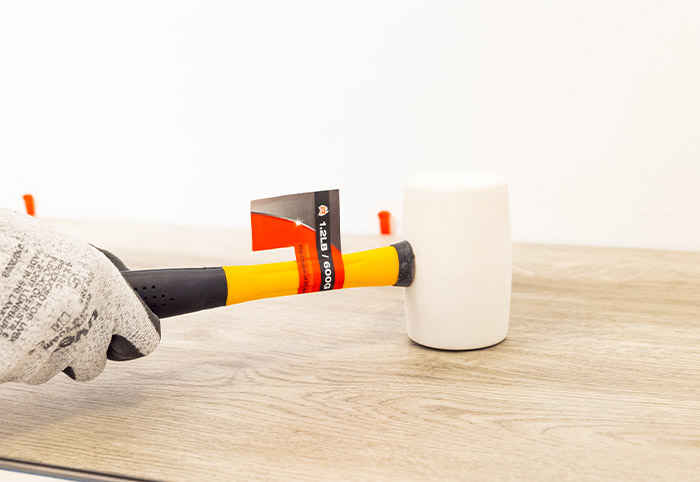
- Tap the board into place
Tap the inserted board down softly with a rubber mallet to lock it into place. This helps avoid gaps, which can compromise the installation.
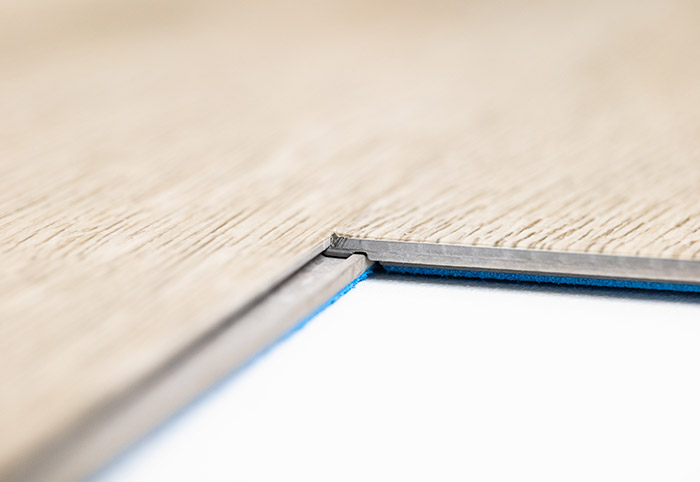
- Cut off any excess
At the end of the first row, cut off the excess of the plank and turn it around to lock it into place. Use the leftover plank to start the next row if it measures more than 30cm, otherwise, cut a new plank in half and use it to begin the next row.
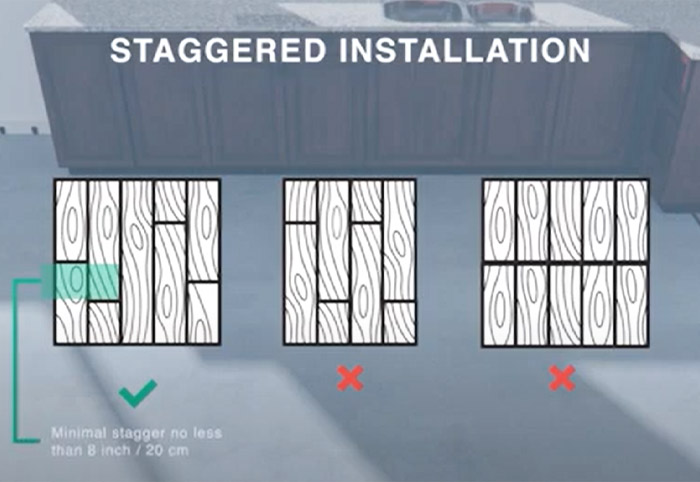
- Aim for a staggered pattern
Arrange your floorboards in a staggered pattern, with a stagger of no less than 20cm.
- Repeat until finished!
Continue laying your boards in a staggered pattern until you’re done!
Caring For Your New Floors
Your boards are down and your new floor looks sensational! But to keep it looking as good as new, there are a few rules to remember when it comes to daily use:
- Avoid walking on spike-soled shoes and stiletto heels
- Ensure you apply furniture pads to the legs of dining tables to avoid scratching
- Use only PH-neutral cleaners on your floorboards – no wax, vinegar, abrasive cleaners or solvents
- Avoid steam cleaners and vacuums with beater bars
- Don’t let your boards get exposed to direct sunlight for long periods
- Remove any spills quickly with a sponge or mop
- Ensure cigarettes, matches and other hot items don’t come in contact with the floorboards
Head over to Beaumont Tiles for more information on hybrid flooring.
Beaumont Tiles is a partner of the Making HOME renovation series.



-
-
-
ChiWren, QLD
- 20 Nov 2025
-

-
-
MH513363, QLD
- 31 Aug 2025
-

-
-
ChiWren, QLD
- 30 Aug 2025
-

-
-
MH513376, WA
- 29 Jul 2025
-

-
-
MH516778, QLD
- 05 Jul 2025
-

-
-
MH514261, NSW
- 17 Apr 2025
Post a commentTo post a review/comment please join us or login so we can allocate your points.